The Brown Butter Chocolate Chip Cookie That Changes Everything
One extra step — browning the butter — turns a classic chocolate chip cookie into something deeply nutty, caramel-rich, and completely unforgettable. Ready in under 30 minutes.
 Dowell Cooks7 min readPrint this post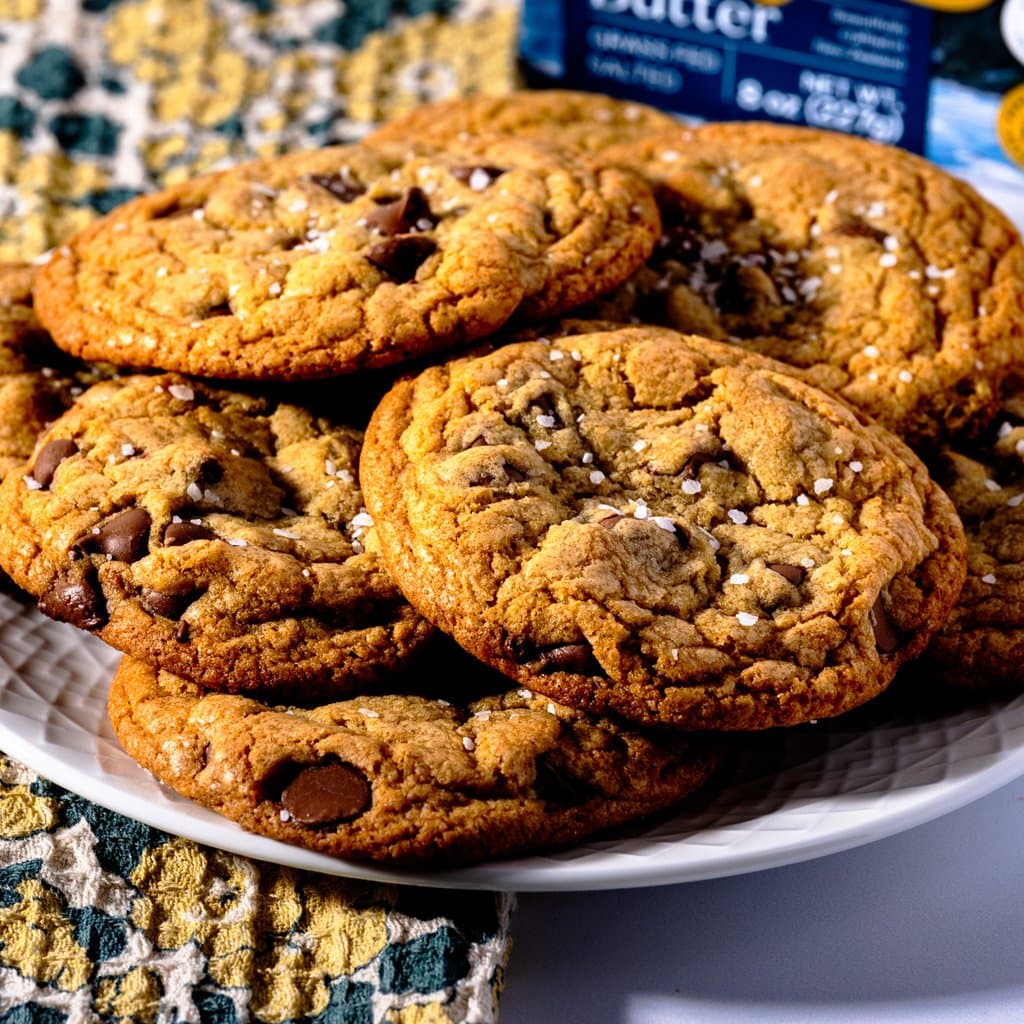
No fuss. All flavor. Every single time.
Hey, welcome to Dowell Cooks! If you've been making chocolate chip cookies the same way your whole life, I'm about to ruin you — in the best possible way. These brown butter chocolate chip cookies are the real deal. We're talking crispy edges, chewy centers, pockets of melty milk chocolate, and this deep, nutty, almost toffee-like flavor that you just cannot get from regular melted butter. The whole recipe comes together in under 30 minutes, the ingredient list is stuff you probably already have, and the technique is genuinely easy. One small extra step. Massive payoff. That's the whole game here.
Why Brown Butter Makes All the Difference
Here's the thing about browning butter — it's not just a fancy chef move. When you cook butter past the melting point, the water cooks off and the milk solids start to toast. What you're left with is this incredibly fragrant, amber-colored liquid gold that smells like toasted hazelnuts and caramel. And here's the really cool part: that browned butter and your vanilla extract are basically flavor best friends. They share so much of the same aromatic character that when you combine them in the dough, the whole thing smells almost finished before it even hits the oven. Then the brown sugar comes in and reinforces that caramel note even further. These three ingredients — browned butter, brown sugar, vanilla — are pulling in the same direction, and the result is a cookie that tastes way more complex than a simple ingredient list has any right to produce.
The Technique That Matters Most
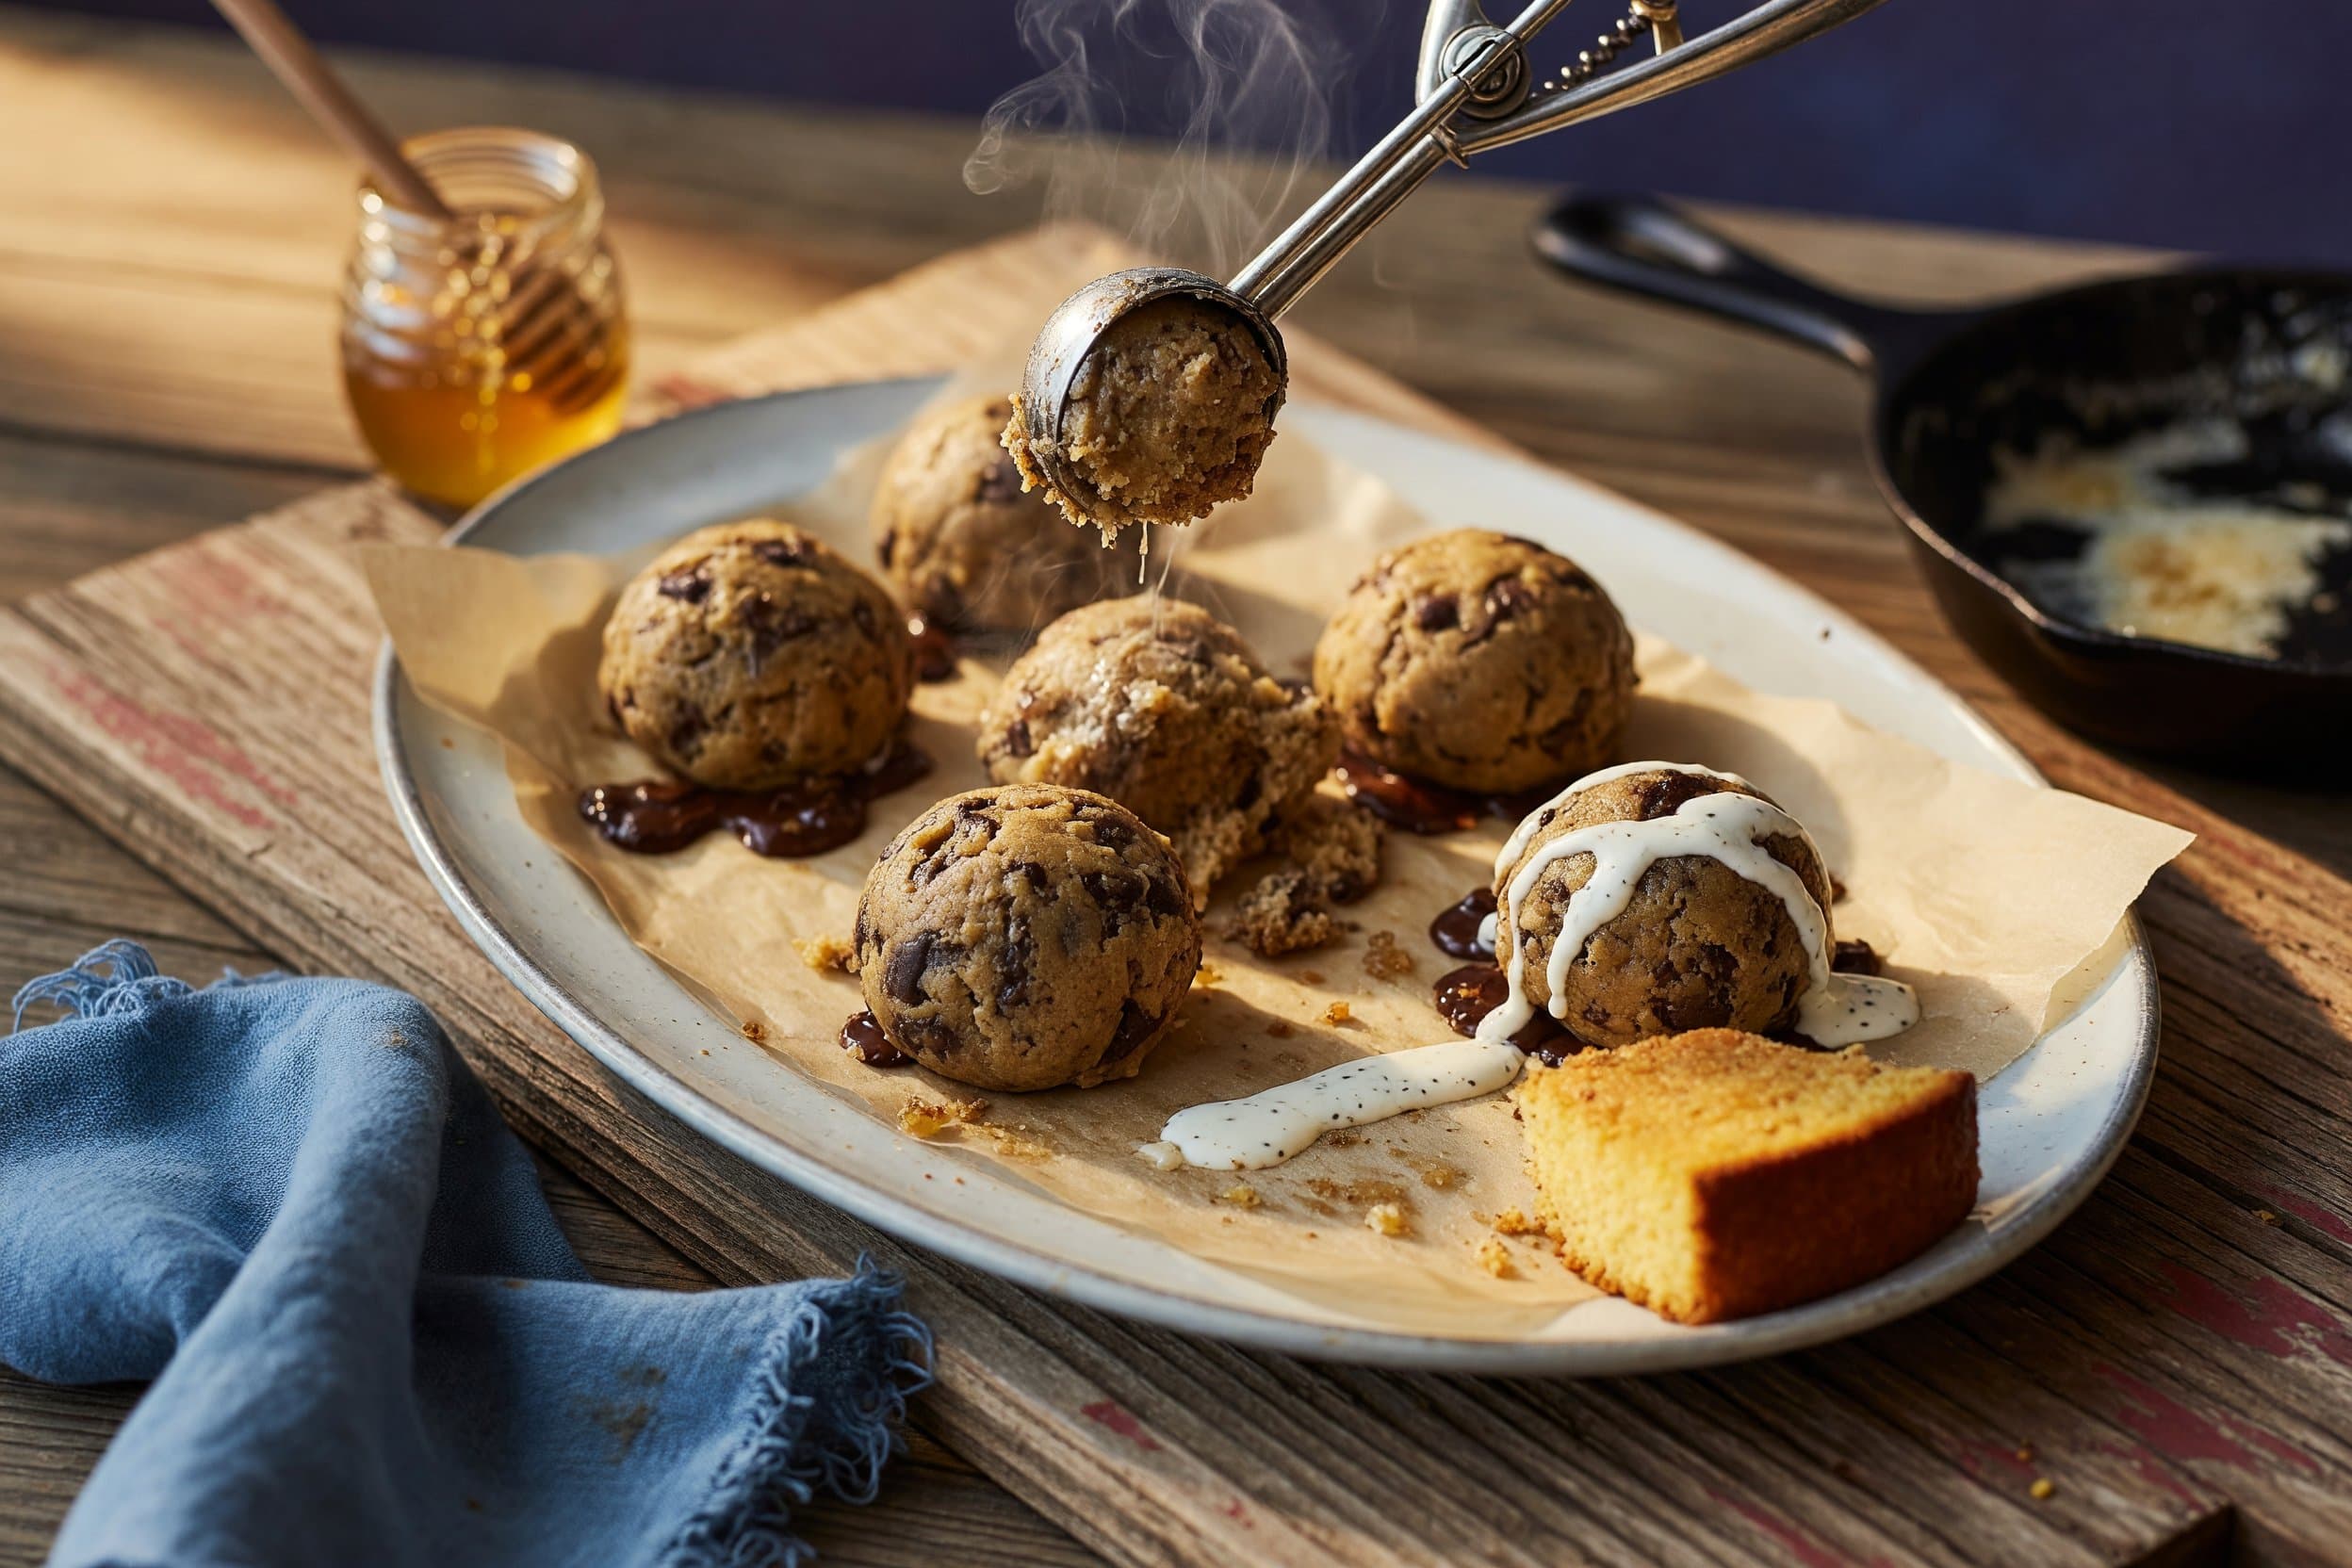
Browning butter is fast and unforgiving — it goes from perfect to burnt in about 30 seconds, so stay at the stove and keep it moving. You're looking for a deep golden amber color in the pan and a nutty, toasty smell. The moment you hit that color, pull the pan off the heat and pour the butter straight into your mixing bowl. Don't leave it in the hot pan — it keeps cooking from the residual heat and can go too far. Let it cool to room temperature before you add your eggs, or you'll end up scrambling them into your cookie dough (not the vibe). Once everything is mixed, if you have time, pop the shaped dough balls in the fridge for 30 minutes before baking. This slows things down just enough so the cookies spread at the right pace in the oven and you get that perfect thick, chewy center.
Don't Skip the Flaky Salt
I know it sounds like a small thing, but the flaky sea salt on top is doing real work here. These cookies lean sweet — between the milk chocolate chips, the brown sugar, and the granulated sugar, there's a lot going on in the sweetness department. A pinch of flaky salt before they go in the oven pulls everything into balance. It dials back any bitterness from the chocolate and actually makes the sweet notes taste brighter and more pronounced. Fine table salt won't do the same thing — it dissolves too fast and you lose the little bursts of contrast. Grab a box of Maldon or any good flaky salt and keep it on the counter. You'll use it on everything.
Sourcing: Two Ingredients Worth Upgrading
Most of this recipe is pantry staples, but two ingredients are worth a small upgrade if you can swing it. First, the butter: go for a European-style cultured butter with a higher fat content — it has less water to cook off, which means the browning process is faster and you get more of those toasty milk solids that make the whole cookie sing. Second, the flaky sea salt for the top. Maldon is the classic, but any good flaky finishing salt works. The texture matters here — you want those little crunchy flakes that pop against the soft cookie, not fine salt that just disappears.
15 minutes, and you’re ready to cook.
Everything comes together fast. Get your mise en place sorted before you start browning the butter — once that butter is ready, you want to move.
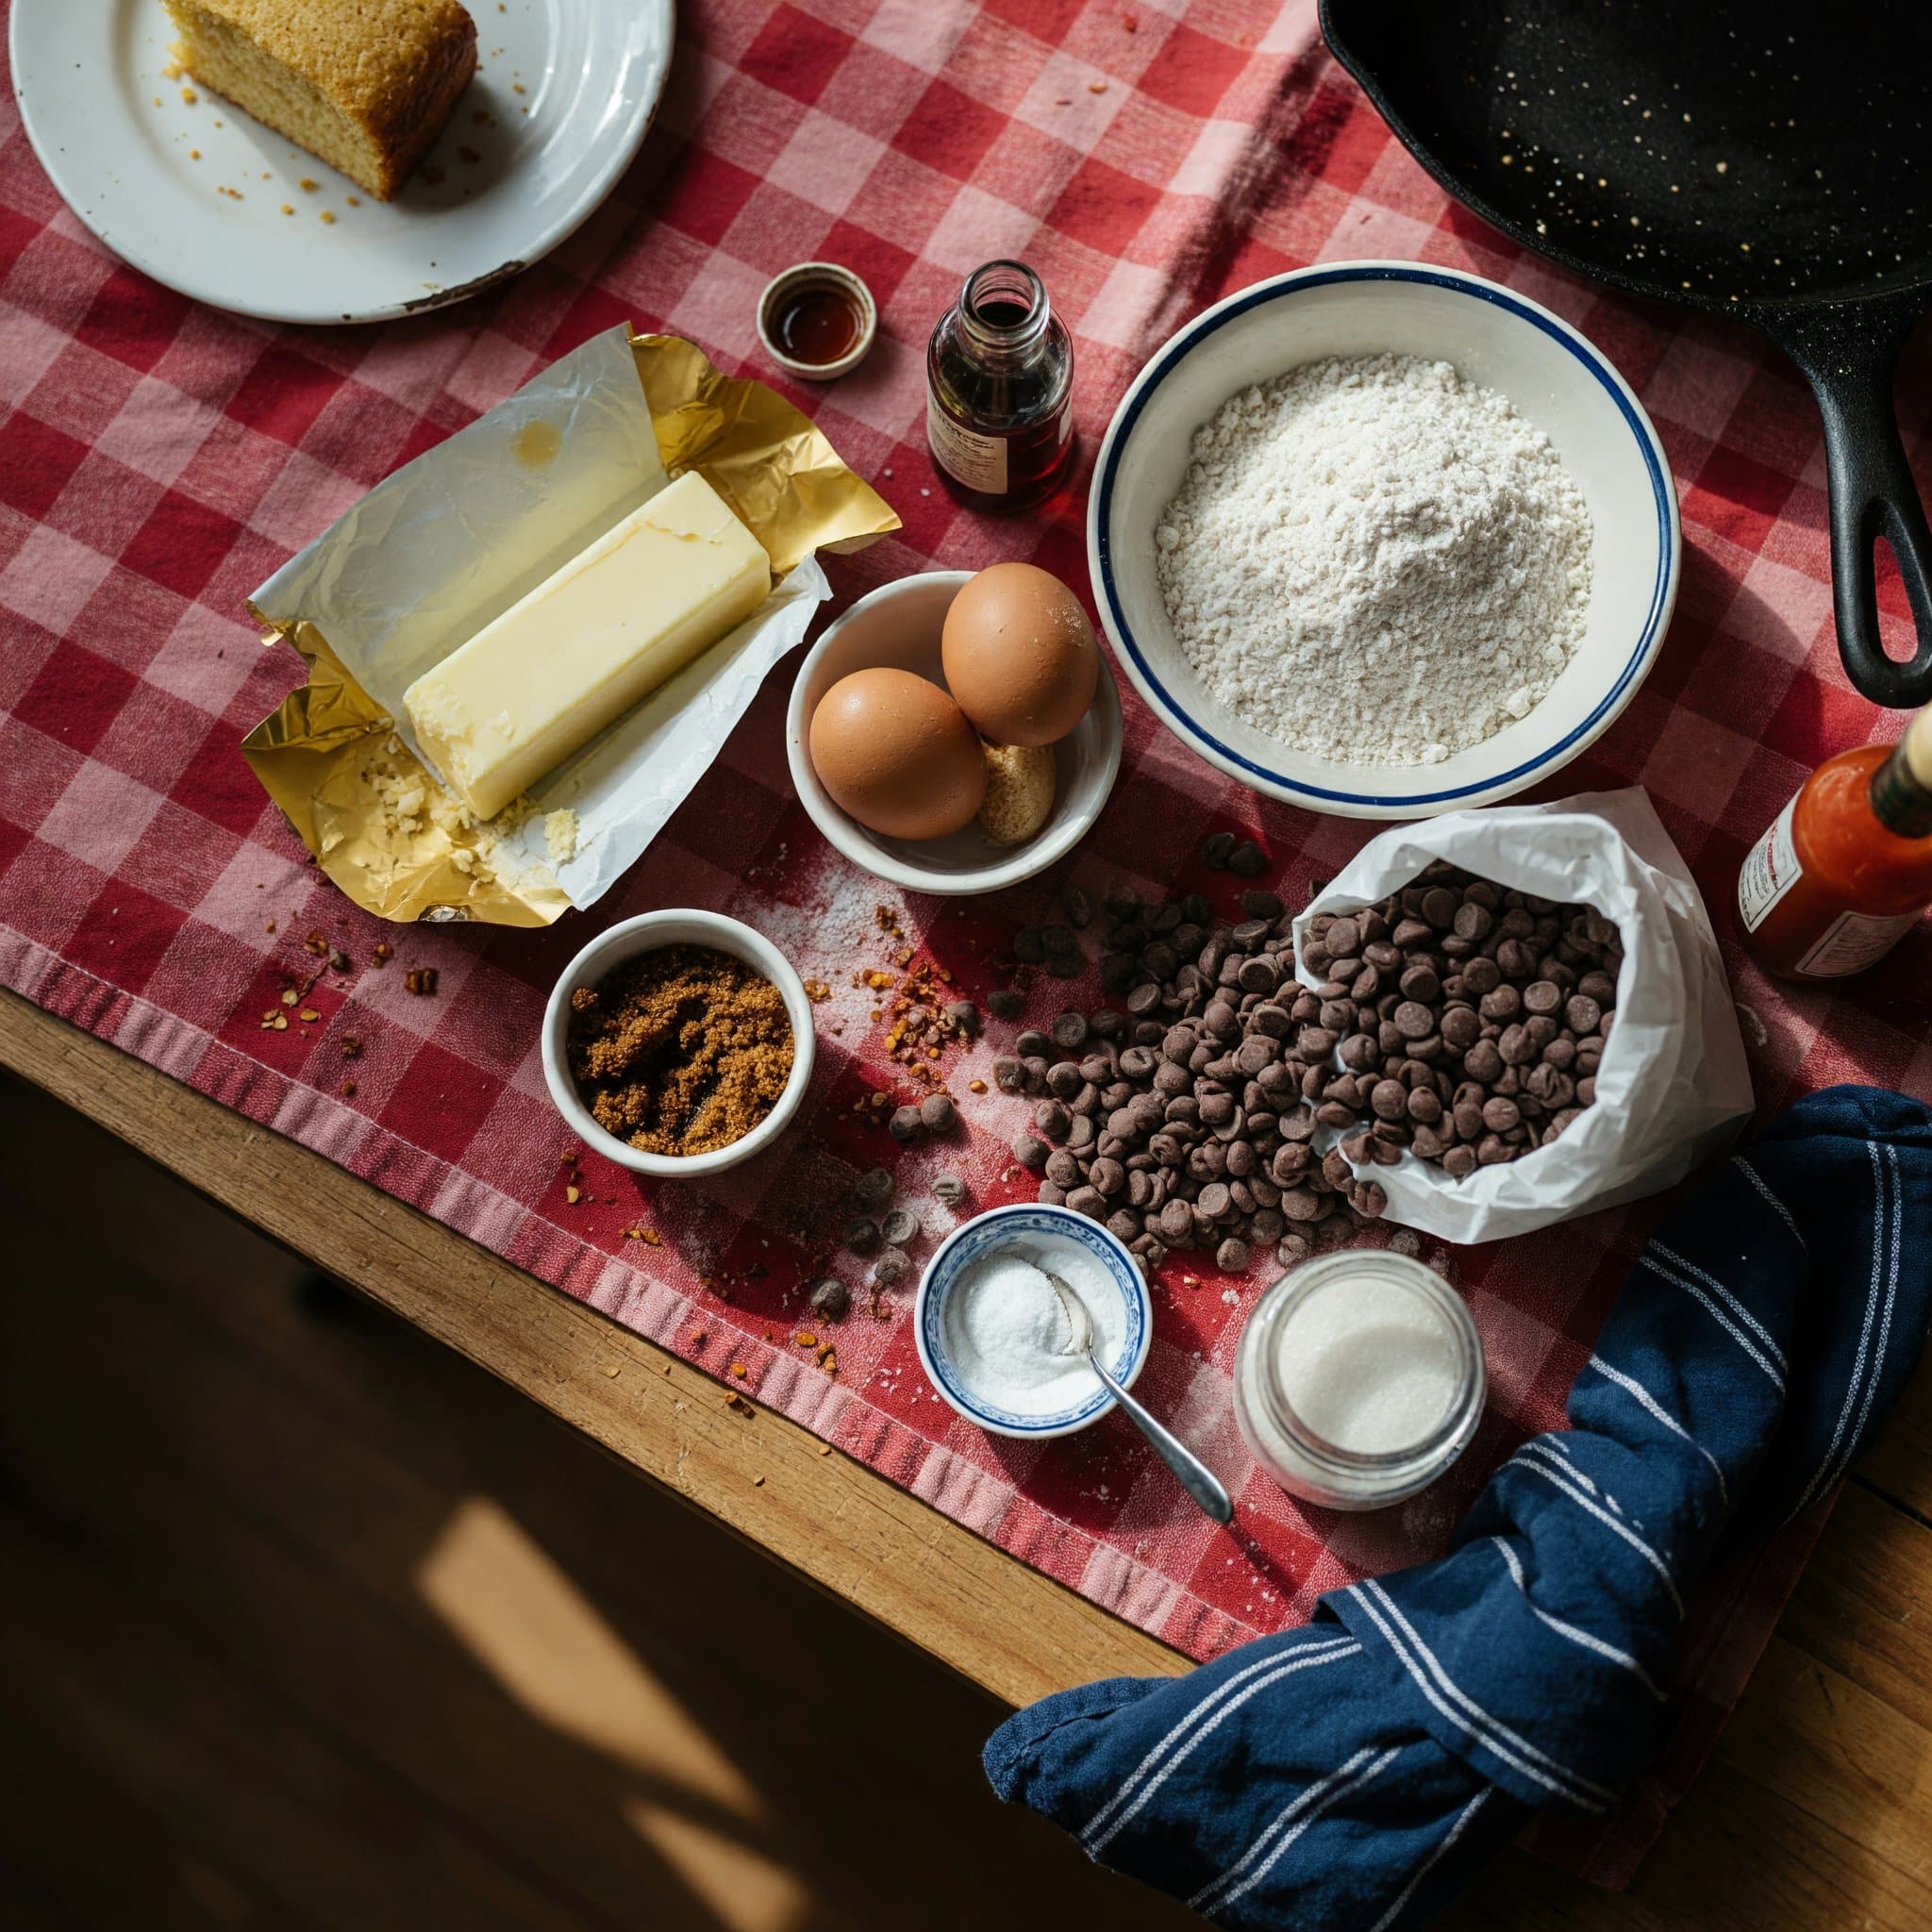
- Gather EquipmentGather a small saucepan, stand mixer with paddle attachment, measuring cups and spoons, mixing bowls, a whisk, a rubber spatula, a baking sheet, parchment paper, and a cookie scoop or spoon.
- Preheat the OvenPreheat your oven to 375°F.
- Prepare the ButterCut the ⅞ cup butter into chunks and place in a small saucepan. You will brown this during cooking, so leave it aside for now.
- Measure the SugarsMeasure out ½ cup granulated sugar and 1 cup + 2 tablespoons brown sugar into separate small bowls or containers.1 min
- Prepare the Eggs and VanillaCrack 2 large eggs into a small bowl and measure out 2 teaspoons vanilla extract into a small container.1 min
- Measure the Dry IngredientsMeasure out 2½ cups all-purpose flour, 1 teaspoon baking soda, and ¼ teaspoon flaky sea salt into a medium bowl and whisk together until combined.2 min
- Prepare the Milk Chocolate ChipsMeasure out 2 cups milk chocolate chips into a small bowl.1 min
- Stage IngredientsArrange all prepped ingredients near your stand mixer in the order they will be used: butter (in saucepan), sugars, eggs, vanilla extract, dry ingredient mixture, and chocolate chips.1 min
Tools for this recipe.
Nothing fancy required here. A stand mixer makes life easier, but a hand mixer works too — just make sure your brown butter is fully cooled before you start.
- small saucepan
- stand mixer
- measuring cups
- measuring spoons
- mixing bowl
- whisk
- rubber spatula
- sheet pan
- parchment paper
- cookie scoop
Mix It Up: Easy Variations
Once you've made this base recipe, it's super easy to riff on. Swap the milk chocolate chips for dark chocolate if you want a less sweet, more intense cookie — the brown butter holds up beautifully against the bitterness. You can also do half milk chocolate, half dark for a nice middle ground. Want a little crunch? Press a few extra chips on top of each dough ball right before baking so they melt into puddles on the surface. Feeling fancy? A drizzle of caramel over the warm cookies right out of the oven takes them somewhere completely different. The brown butter base is flexible — treat it like a canvas.
Watch Out For These
Two things that can go sideways: burning the butter and over-baking the cookies. For the butter — don't walk away from the stove. Medium heat, constant swirling, and your eyes on the pan. The color change from golden to burnt happens fast. For the cookies — pull them when the edges look set but the centers still look a little underdone and soft. They firm up as they cool on the pan, and if you wait until they look fully baked in the oven, you'll end up with something closer to a hockey puck than a chewy cookie. Five minutes of cooling on the pan is not optional — it's part of the cooking process.
Substitutions that still taste like the recipe.
Need to swap something out? Here are the best alternatives that keep the flavor profile intact.
- clotted cream
Shares lactone compounds with butter
- mascarpone
Shares lactone compounds with butter
- cream
Shares lactone compounds with butter
- vanilla
Shares phenolic compounds with vanilla extract
- rose water
Shares aldehyde compounds with vanilla extract
- almond extract
Shares aldehyde compounds with vanilla extract
- chocolate↓ sweet
Shares pyrazine compounds with chocolate chips — less sweet
- maple syrup↓ fatty
Shares phenolic compounds with chocolate chips — less fatty
- milk chocolate
Shares phenolic compounds with chocolate chips
- jaggery
Shares ketone compounds with brown sugar
- honey
Shares aldehyde compounds with brown sugar
- agave nectar
Shares aldehyde compounds with brown sugar
- salt
Similar seasoning — neutral swap
- kosher salt
Similar seasoning — neutral swap
- Himalayan pink salt
Similar seasoning — neutral swap
Common questions
Do I really need to brown the butter, or can I just melt it?
Can I make the dough ahead of time?
Why do my cookies spread too much?
Can I use salted butter instead of unsalted?
How do I store these cookies?
These brown butter chocolate chip cookies are exactly what Dowell Cooks is all about — a simple upgrade that makes something you already love taste even better. No fancy equipment, no hard-to-find ingredients, no complicated techniques. Just good butter, a little patience at the stove, and a cookie that's going to make everyone in your house very happy. Make them for a weeknight treat, bring them to a gathering, or just make them because you deserve something delicious. Browse all the recipes and find your next favorite — there's always something easy and delicious waiting for you here.
The Quarterly
Get the next Quarterly from Dowell Cooks
Seasonal recipes, notes, and the issue links worth saving.
Comments